I recently wrote an article for ALTIS - an education platform & elite athlete training facility - where I outlined how I use their Kinogram Method with tennis players.
What I didn’t do in that post, however, was show a step-by-step approach of how to actually develop a kinogram - which is what I’m going to do here.
For those of you who didn’t read that post and/or aren’t familiar with kinograms; they are a set/sequence of still images which are derived from a video source.
They’ve been used for decades in a number of sports (including tennis). Remember the old TENNIS magazines? They would have a section in each issue that analyzed a player’s stroke or movement. One week it was Agassi’s return of serve, the next week it was Serena’s forehand attack. Depending on the stroke, they would use anywhere from 4-12 images to depict the sequence, analyzing each frame one by one.
In my example below, I’m only showing a sequence of 4 images. I often do this when I’m on court with players so that they can get some feedback during change overs and/or hydration breaks. Other times (usually after training), I’ll use 6-8 images when I want a little more granularity.
Kinograms are a cost-effective way to analyze stroke mechanics, footwork patterns and more. They are also a lot easier to develop and manage when compared to high-end software solutions. That said, other tools can definitely be useful (and I’m not disregarding them) - but for most coaches and players, I believe they’ll find this solution more user-friendly.
In any case, here’s a short YouTube clip in where I go through every strep of the process:
The Tennis Kinogram - Forehand Example
And for those that prefer to read, here are the steps I go through:
Step 1 - Choose a Video
Here, try to get a video from a side or rear view. It’s key to be consistent - i.e. don’t do angled videos one week and a rear video the next. This will defeat the purpose of comparing kinograms over time - especially when we’re trying to improve/change mechanics. Standing just outside the doubles alley, along the baseline, is a good place to be for side view shots. From the back of the court, I like to have enough room to see both the player, and the opponent (this is especially important when looking at timing/movement sequencing).
Step 2 - Take Screenshots
Once you’ve chosen the video, pause it and slide through to take screenshots of key positions. In another post, I’ll go through different landmark positions I feel are important but for simplicity, I have chosen 4 in this example:
Set-Up
Acceleration
Impact Point
Deceleration/Follow-Through
Step 3 - Edit the Photos
From there, we edit each image and make sure the player is relatively centred (I also change the image size to ‘square’ rather than landscape as it provides more of a close-up position). You can also zoom-in on the photo if you want the player to take up the majority of the screen.
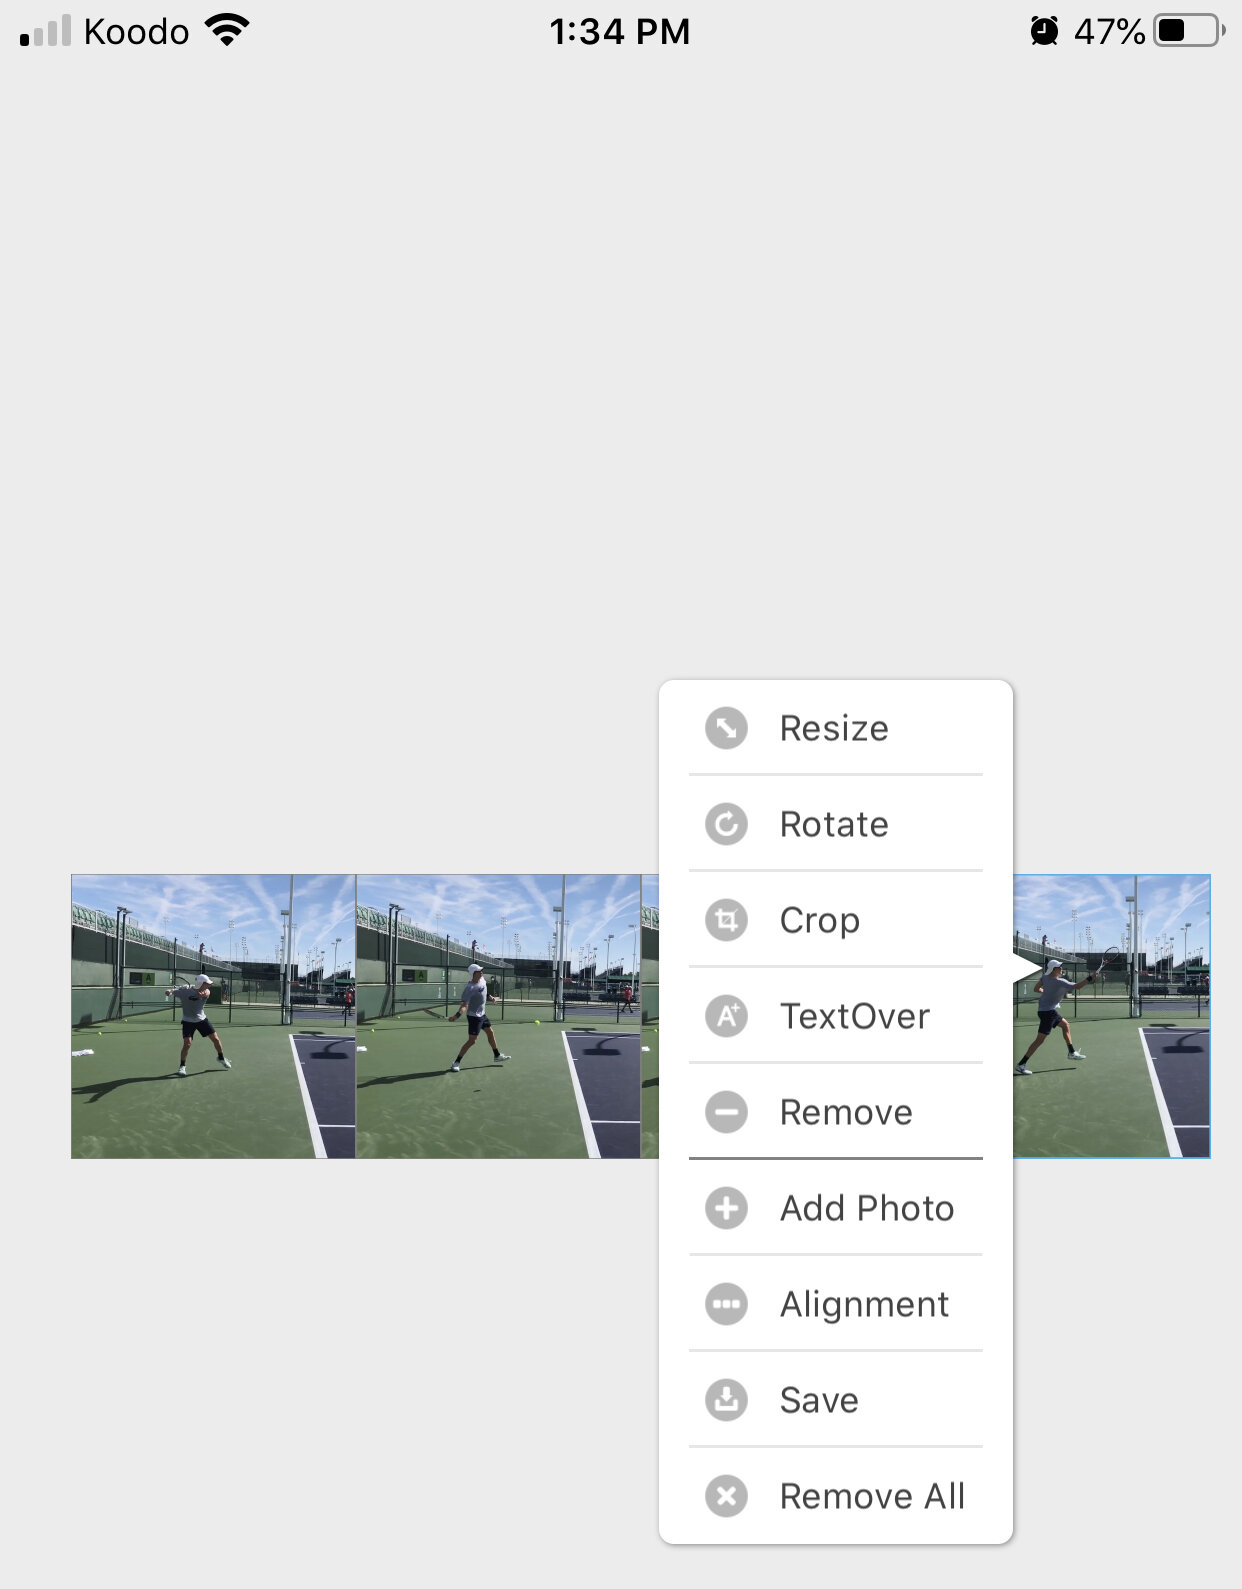
Step 4 - Use the PutPic App
Combine the images together with an external app (I use PutPic) and align them in a way that makes sense for you. I do it horizontally but it can also be done vertically (or in 2 rows if you’re doing more than 5 images). Save it and it’ll automatically be transferred to your photo album.
Step 5 - Analyze
Go into your photo album on your smartphone (or iPad if you prefer a larger viewing experience) and start analyzing/looking into key positions. You’re all set!
One last comment - I also create a separate folder for each player and copy kinograms, videos etc. into that folder. It makes sorting a lot easier (rather than having to scroll through hundreds of images/videos to find the one I’m looking for).
Good luck and hope this easy, cost-effective solution will be an added tool in your coaching arsenal.


