Recovery movements in tennis are critical as each recovery action has a massive impact on all subsequent shots. If you don’t recover into the correct position, with enough of a forceful push - and at the right time - you may either be late on the next shot or miss it entirely.
Consider what a recent remote client of mine said:
“Now I see that not recovering fast enough is a very big issue of mine. When you force yourself to recover faster, it actually makes you set-up faster, or at least that’s how I feel. This is funny, that every other coach tells you to run to the ball, but no one is telling you to run back also”.
In the next lesson, we’ll get into some of the footwork variations that are seen during various recovery actions. But here, as my client eluded to, we will tackle the most relevant factor when it comes to recovery - it’s called ‘the intent to recover’ (or “recovering fast enough”).
Recovery Actions in Tennis
As coaches, we often want to pull our hair when we see players sluggishly recover after a shot. Once players reach a certain level, (most) know, more or less, where they should position themselves after they’ve hit a shot (based on the tactical scenario at hand). Yet they often lack the intent it takes to get back to that position effectively - and with enough time to have a play on the oncoming shot.
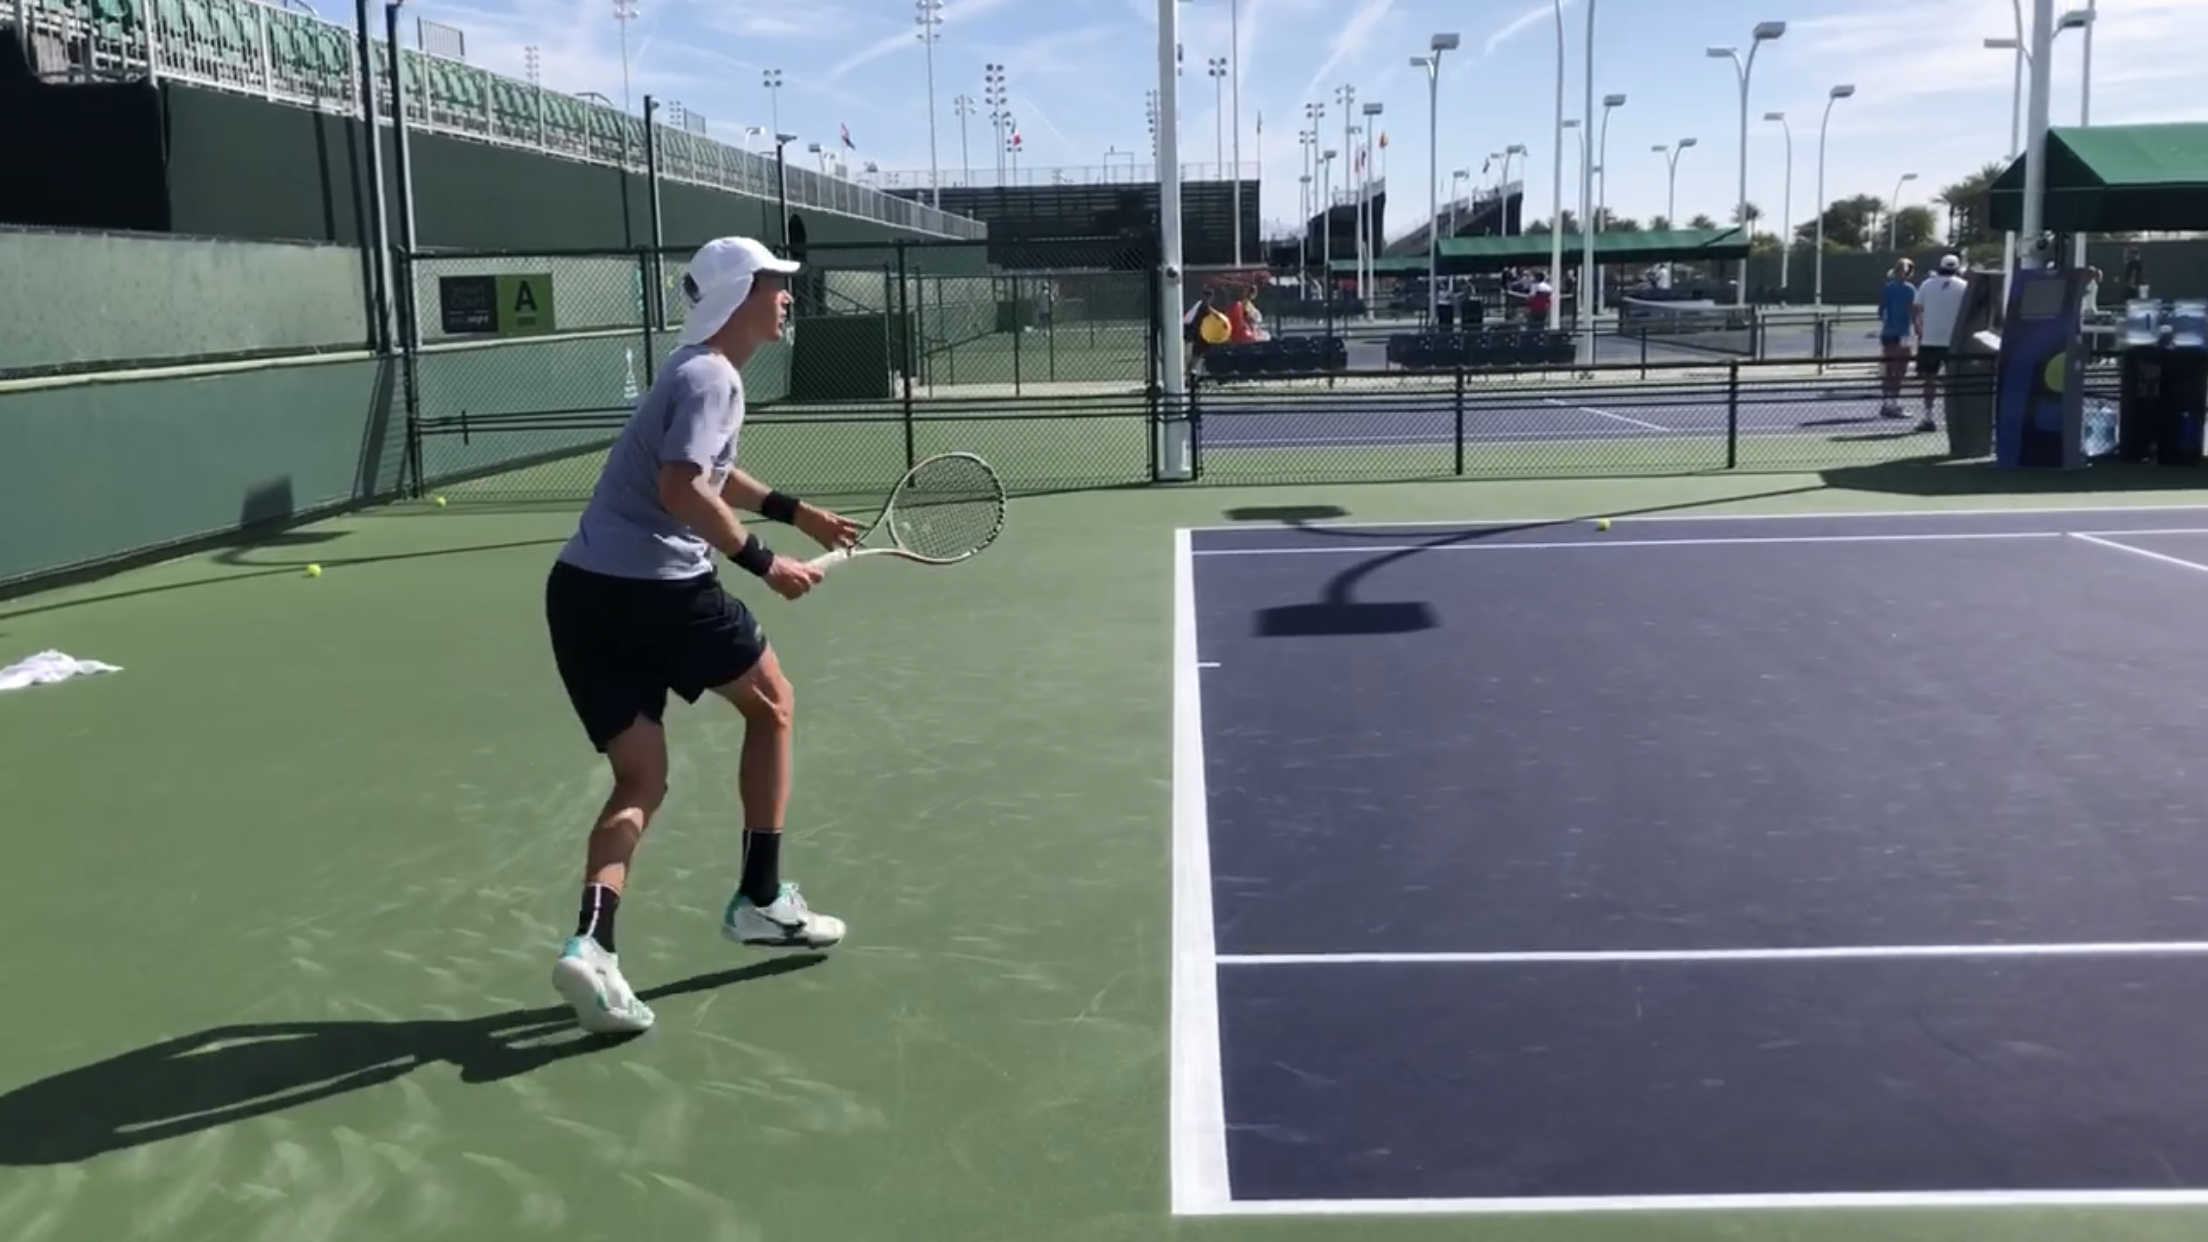
In this practice set, watch Marc’s recovery and movement in general. Often, when he doesn’t get back to the correct spot, he loses the point (because he leaves too much of the open court). Re-watch this once you’ve read through the following lesson.
As we’ll see in the next section, there are different footwork steps we can take to recover. Irrespective of this, in almost all scenarios, it’s an aggressive intention, into the correct position, that makes the difference.
The feeling I’d like you to adopt when you’re recovering out of difficult positions, is that of a sprinter coming out of the blocks. As soon as you’ve finished striking the ball, no matter where you are on the court, try to get back into the most ideal recovery position, as fast as you can! All that means is you’ll push off with the outside leg - digging the ground away.
When you’re pushed wide, it’ll resemble more of an acceleration (body leaning slightly). If your recovery marker is only a meter or two away, you might be able to do a quick crossover or shuffle - but the intent to move must still be maximal, no matter which footwork your body decides to use.
Recovery with this kind of intent, on every ball, is anything but easy (and is one reason why if you can produce more force - achieved through weight training - you’ll be better off). But this type of aggressive pushing action after every shot is what allows a player to get back into the most ideal position. This will enable them to do all those other things correctly (i.e. perceive the ball, time the split, adjust to the correct impact, get set and strike the ball), for the next shot, and the next one and the one after that. It’s all a cycle (lesson x), and recovering is a big part of that cycle.
Positioning
Your recovery position can vary depending on a number of factors. Where is your opponent? What direction did you hit the ball towards? What phase of play are you in? But I’ll give you an easy way to figure out where you should recover, one that you can adapt depending on the specific scenario.
Picture a court in your head - now imagine that you’re in a crosscourt exchange. Where is the ideal recovery position? First, you must determine which phase of play you’re in. That could be one of the following:
Attacking
Defending
Rallying
Building
Countering
Each phase is dependent on the quality of your shot, the positioning of your opponent (and what phase you perceive them to be in) and how quickly you can recover.
So let’s say that you perceive yourself to be in a rally scenario. That means that you’ll generally be standing comfortably behind the baseline, and your recovery would look something like this (all recovery positions are at the bottom of the diagrams below):

If you’re more defensive, you’re going to position yourself further from the baseline and the middle of the court - that means you’ll have to recover to roughly, this spot:

And finally, if you’re in an offensive position, you’ll recover closer to the baseline (or on top of the baseline - some players even move slightly inside the baseline, if they think the next shot will be short) and you’ll move closer to the middle of the court:

Do you see a pattern? As you get into more of a defensive position, your recovery spot needs to be closer and closer to the sidelines. Why is that? Because if you’re on defense, that means that your opponent is on offense. And he/she will be inside the court, which opens up more angles on the crosscourt (remember crossing balls?).
The down the line - in a best case scenario - won’t be better than on the line while the angle can get more and more severe as your opponent gets further inside the baseline. Look at the images again - your positioning is effectively in the middle of the best outcomes in every scenario.
Watch and listen to this video as I analyze the point from a ‘recovery’ positioning perspective.
Positioning When Changing Direction
The above diagrams depict theoretical scenarios when hitting crosscourt. But what happens when we change the direction of the ball? In other words, we receive a crosscourt forehand but see an opening down the line. In that case, we must recover to the other side of the baseline tee. Effectively, we’re now in the ‘backhand’ recovery position (for right-handed players).
We must move there because, again, it’s important we cover the best case scenario for a crosscourt or down-the-line shot from our opponent. The exact positioning will vary depending on how well we’ve hit the our initial ‘change of direction’ ball, and what phase of play we believe our opponent is in (which will generally dictate their shot selection).
Lastly, when it comes to serves and returns, we’ll talk more about those in another lesson later in this module. For now, remember 2 things:
Recover with the highest intent possible.
Based on how you perceive the situation, recover to a spot that covers the best outcome for your opponent’s next shot.
Take Action
Recovery Drill #1 - Crosscourts
Rather than yelling at a player to recover faster, I like the player to internalize the skill on his/her own. In this drill, call out "recover" as soon as you’ve finished the swing (not before, as this can lead to poor stroke mechanics).
Another word they can call out during a crosscourt exchange is the phase of play that they are in. Once they know, more or less, the depth of their recoveries (in terms of front and back), they can say ‘defense’ and make the appropriate pattern back, for instance.
Using markers for these drills (see video below) and placing them into these recovery spots can help players get a sense of where they need to be after each shot. Overall, most players know they need to get back but only do so in a lateral manner. Forward and backward positioning is critical! Just watch some of the top pros play, they use the back of the court often to give themselves time, have a better play on angled shots and so on.
Also note some of the previous drills we’ve shown where players are recovering after serves, returns etc (even at sub-max intensities). It’s about forming the right habits so they become automatic.
Note - recovery positions will vary depending on the severity of the crosscourt shot, and thus, the angle your opponent has to work with. The above diagrams are templates to work from.